2019 Update: Install Ghost (2.27.0) on Plesk Onyx (17.8.x) or Plesk Obsidian (18.x) vServer with docker


Today I moved my blog to a new vServer running Ubuntu 18.04 with Plesk Onyx (or Plesk Obsidian) and Docker support (inclusive).
Februar 2021: Missing docker support on your plesk server?
Have a look at Fatih Battals blog post how to setup a ghost installation without docker on your plesk server.
I followed his guide and switched this blog to "native nodejs" hosting.
Last time on that topic I stumbled upon the URL setting, that made my ghost installation pointing on localhost links, which I solved by climbing into the docker container and set things up manually. This is not needed anymore, jump to step 3 to see how to setup your URL for your container.
Step 1 - install docker extension in plesk
Newer Plesk Onyx does not always support Docker for free. You may have to pay for the docker extension, or make sure your Plesk License includes Plesk Power Pack, which includes docker support.
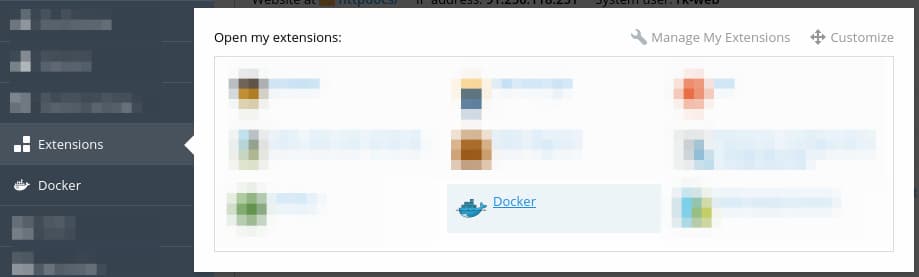
Click on Extensions and search for "docker" and install this extension. On success you should have the Docker navigation entry in the left menu.
Step 2 - install ghost image
Go to the Docker section and type "ghost" and select an up to date ghost image, I choose ghost:2.27.0-alpine and get it up and running.

Step 3 - configure ghost container
Got to the settings panel of your ghost container and make the following settings:
- check Automatic start after system reboot
- uncheck Automatic port mapping
- provide a Manual mapping
- add a Volume mapping from /var/lib/ghost/content to a non-www-readable directory on your server
- click on Add Variable
- name new variable url and enter your url into the field
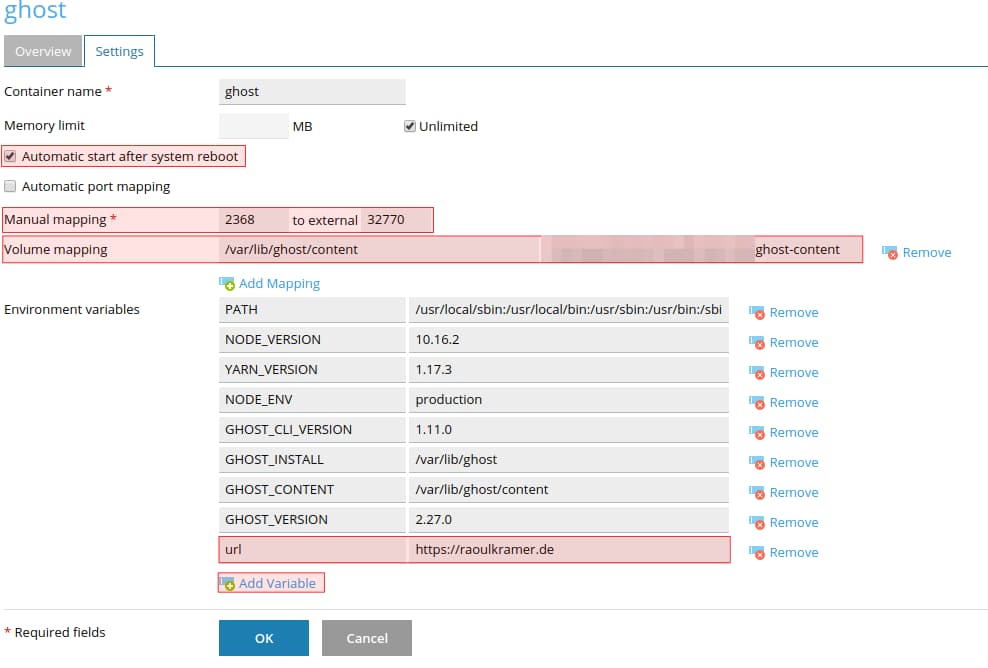
By providing the url variable you will get rid of those localhost:2368 links.
Step 4 - import your old data
This time I downloaded my ghost-content folder from the existing server and upload it as root to my new server. After that I needed to change user and group of the uploaded files, from root to 1000 user and psaadm group.
In your ghost-content folder you can do this with sudo chown 1000 data/ghost.db and sudo chgrp psaadm data/ghost.db. The image folder I changed recursively sudo chown -R 1000 images and sudo chgrp -R psaadm images. Be careful with this commands and make sure to only execute them in the right directory.
Last steps
Restart your ghost container and check in the logging output that everything works.
Setup a docker proxy rule for your domain and the ghost container.
Log in to your new old ghost installation and happy blogging.
Article image from Benedikt Geyer via unsplash and ghost.